
The world of audio production may seem like this bottomless pit of science, hardware, software, and tons of foam taped to a wall…with a sprinkle of magic. What is a DAW? Why are there so many different microphones? What is phantom power, and what do ghosts have to do with this? The answers to these questions are quite simple (except for the ghosts. We will never why ghosts power our gear). The point of this article is to help those interested in audio, present the different options in the space, and to help determine the best setup for you.
Before we get into the gear and the software, we should briefly discuss how recording works. To put is simply, we have a source that we wish to record that we capture with a microphone. That microphone will then transmit signal to a device that will take that information for processing such as a mixer or an interface. The signal will then be converted to digital for the computer to process. You are then free to manipulate it in the software of your choosing once it is in your computer. After that, the signal is then continued to your speakers or headphones in a backwards version of the initial process. You can refer to the amazing artistic rendering below.
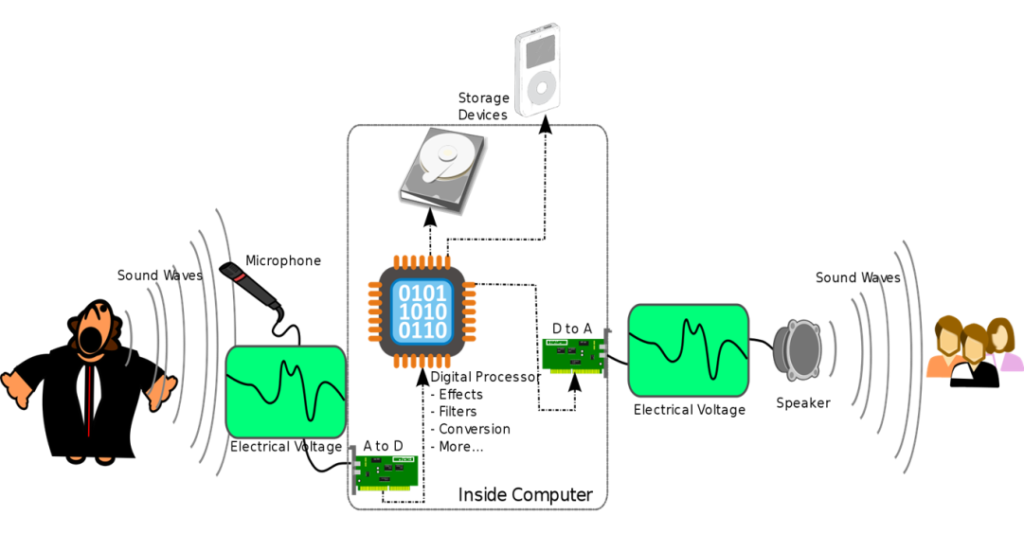
With that explanation, we can start with the hardware that you will need to start the process.
Hardware
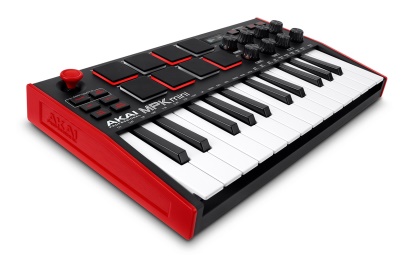
When it comes to audio production, there is an impression that one needs to not only have the best gear, but also needs to have hundreds of different gear. Allow me to reassure you. One would need, at the max, three pieces of hardware. I can guarantee that you have one of them. The three best pieces of gear to invest in are a microphone (plus XLR cable), an interface, and a computer (desktop or laptop).
All microphones are the same in the end. They take mechanical energy (in the form of vibrations in the air) and convert it into electrical energy to be sent to wherever it needs to go. The main type of cable that the vast majority of microphones are the one called XLR cables.
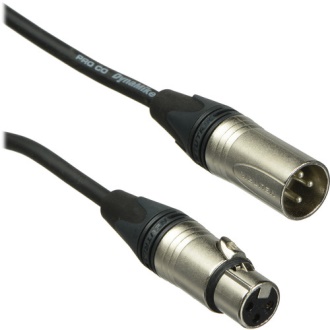
Standard Male-Female XLR
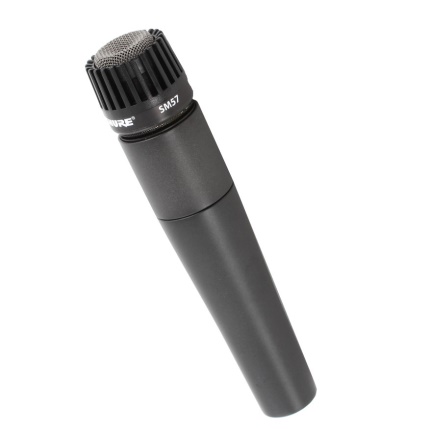
There are two main types of microphones: dynamic and condenser.
- Dynamic – Takes in sound waves by a vibrating magnetic plate and converts it into an electrical signal. By far the simplest microphone to use from the start.
- Examples: Shure SM57, SM7B, Sennheiser e835, Electro-Voice RE20
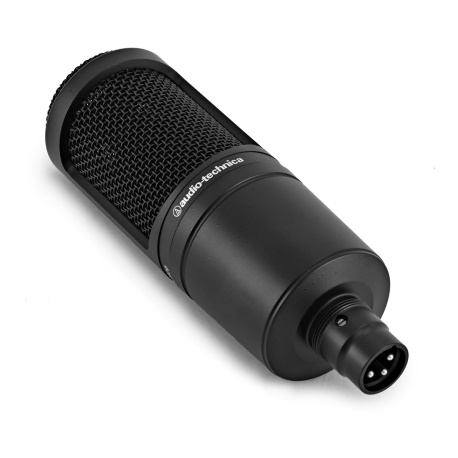
- Condenser – Similar to the dynamic, but uses the principle of variable capacitance. There are two types of condenser: small diaphragm and large diaphragm. These types of microphones need extra power to work known as phantom power.
- Examples: Audio Technica AT2020, Rode NT1-A, Neumann U87
Depending on the application will determine what kind of microphone you will use. For those who are just getting into audio, there is no need to develop a full blown microphone closet from the start. Here are some of my recommendations to get you started.
- Shure SM57 (dynamic)
- Audio Technica AT2020 (condenser) *strong recommendation*
- Rode NT1-A (condenser)
Now that you have a microphone, you need something to plug it into. That is where interfaces come in. The interface acts as the bridge between the microphone and the computer known has a converter. It will take the information from the microphone and digitize the information so the computer can process the information into the software of your choosing. Interfaces can also act as your computer’s soundcard, so one can run all their sound through it with the proper equipment. You may have noticed the phrase “phantom power” pop up multiple times throughout this article. It is at this stage of the chain where it is applied. While it is needed to power condenser microphones, it is not dangerous to dynamic microphones and will not cause any noticeable changes. There is only one type of microphone that, under no circumstances, should take in phantom power, ribbon microphones. Use of phantom power on ribbon microphones will cause the microphone to break and no longer function. This is a specialized microphone that most beginners will not need, but it is good to keep in mind.
Here are some of things you would need to consider when figuring out which interface is best for you:
- Preamps – a function that can increase and decrease the signal from the microphone
- Inputs – how many microphones it can take in at once
- Phantom power (+48V) – the function that sends the power needed for condenser microphones, typically labeled “+48V” on most gear
- Check to see if phantom power can be supplied to individual inputs or the large selections of inputs
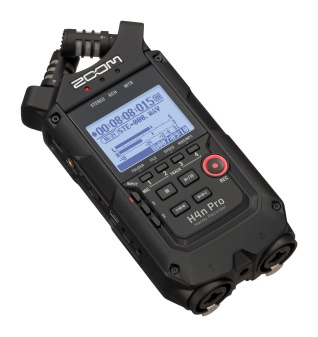
There are special types of interfaces known as field recorders that are portable, have microphones on the device itself, and function without a computer, but they can get expensive as you increase the amount of inputs.
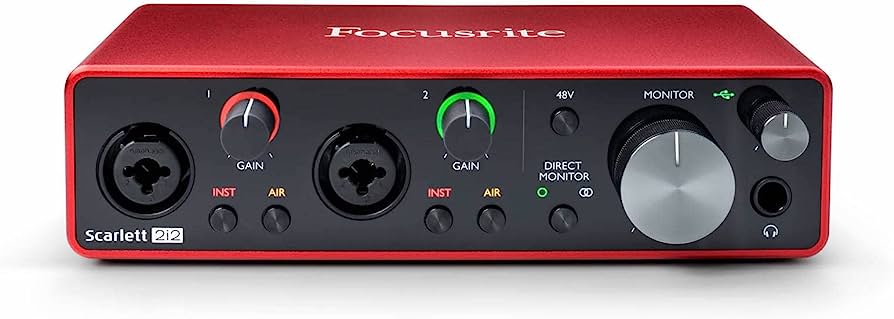
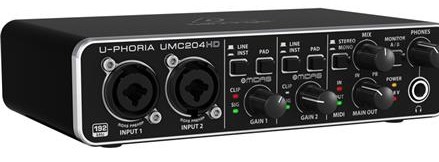
My recommendation for someone’s first interface would be to keep it to no more than a 2-in/2-out interface. This tier of interfaces is affordable and will allow you to use two microphones at once. If you are on a Mac, most interfaces are class-compliant and will not need drivers to be installed. Windows devices will need to install drivers. If you follow the instructions inside product’s box, you should be good to go. While interfaces are the same in the sense that function similarly, one needs to remember that every manufacturer has their own quirks about them. Because of this, it is always best practice to consult the manual when working with new gear.
You may have noticed that I have not mentioned USB microphones. These are special types of microphones that have a converter built into the microphone itself, so there is no need for an interface. USB mics are excellent if you strictly need a microphone for an immediate purpose (such as online calls). If you are serious about getting into audio production, I do not recommend USB mics just strictly based on the lack of expandability of them. I feel you can get a decent microphone and a decent interface for a small increase in price compared to a USB microphone. In the end, it is up to you to determine what is best for your needs.
Software
There is probably nothing more terrifying for someone looking to get into audio/recording engineering than the software. The amount of options out there is truly overwhelming even for the more experienced of us.
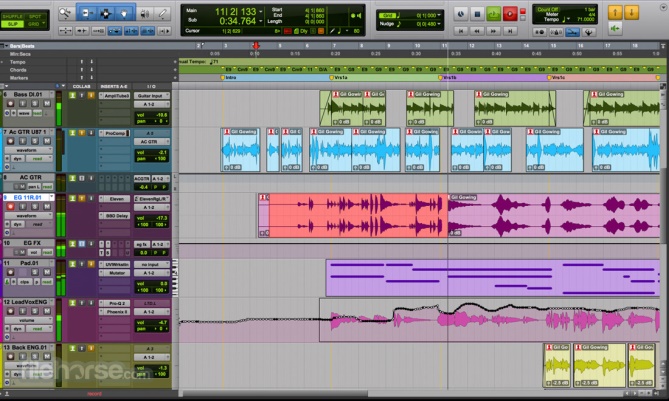
The core of our recording set up will be type of program called a Digital Audio Workstation, or DAW as it is more commonly referred to. While the options are vast, it is a common belief that once you learn one DAW you have learned them all. Although every DAW has their own unique features and quirks, they all share the same common functions.
Below are some of the most common DAWs:
- Pro Tools
- Ableton
- Logic Pro X*
- FL Studio
- Cubase
- Digital Performer
- Reaper
- Reason
- Studio One
- Garage Band*^
- Cakewalk^
* Mac only ^ a free version
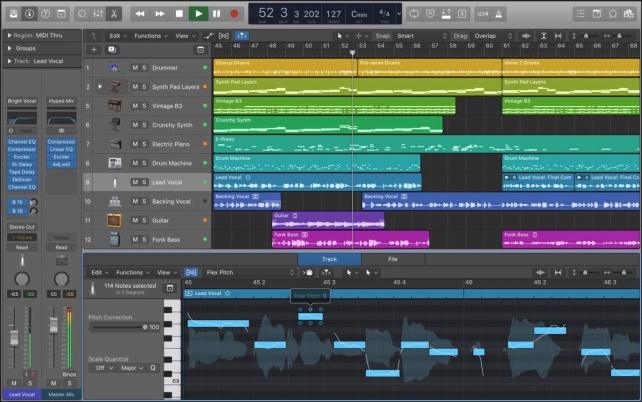
I suggest looking into some of the features of each one, watching videos, and trying out free trials when you begin to decide which DAW you feel is right for you. I was brought up on Pro Tools (and still use it in a recording studio setting) and currently use Digital Performer for my personal setup. Many sound designers use Pro Tools and Reaper. Many composers use Cubase, Logic Pro, Ableton. I wish it was simple to point to a specific DAW for you to use, but DAWs are truly a personal choice.
Another aspect of software that can be daunting are the plug-ins. While there are many plug-ins that can be paid for, every DAW has their own “stock” plug-ins that essentially do the same has the paid, commercial versions. There are benefits to the paid versions (such as features that are helpful or the level of detail it can allow you to control), but the stock versions will do just fine for anyone first getting into audio. What kinds of plug-ins are available and their functions should be a topic that gets its own discussion.
Hopefully this article provides you with enough information to get you started in the audio production journey.